
Mini Cheesecakes
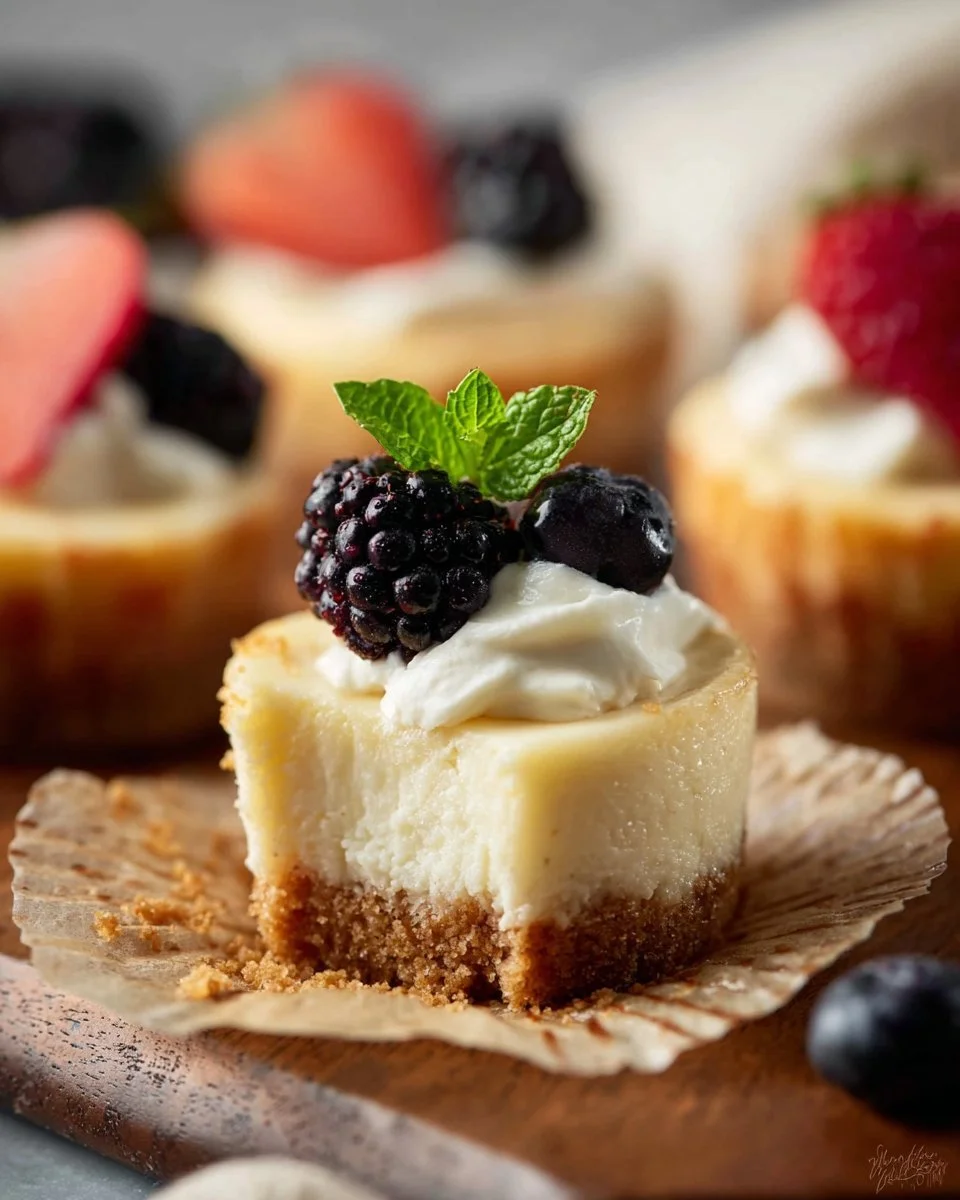
These mini cheesecakes are creamy, tangy, and just the right size for a sweet bite after dinner or a party dessert table. Each little cheesecake has a buttery graham cracker crust that offers a crisp, slightly sweet base, while the filling is rich and velvety with a hint of lemon brightness and vanilla aroma. The texture is silky and dense but tender, with centers that wobble slightly when they come out of the oven and set perfectly after chilling. These are ideal for potlucks, holiday gatherings, or anytime you want a fuss-free single-serve dessert. If you enjoy small, shareable sweets, you might also like this take on mini pecan pie cheesecakes for a nutty twist mini pecan pie cheesecakes.
Ingredients
-
1 cup graham cracker crumbs
Finely crushed for a sturdy, sweet crust that browns nicely. -
2 tablespoons granulated sugar
Adds extra sweetness to the crust and balances the tang of the filling. -
3 tablespoons unsalted butter, melted
Binds the crumbs and creates a crisp, golden base. -
16 ounces full-fat brick cream cheese, softened
The primary source of richness and creaminess in the filling. Bring to room temperature for smooth mixing. -
1/2 cup granulated sugar
Sweetens the filling without overpowering the cream cheese flavor. -
1/4 cup full-fat sour cream
Adds a subtle tang and silkiness to the filling. -
1 teaspoon pure vanilla extract
Enhances the overall flavor with warm, sweet notes. -
1 teaspoon freshly squeezed lemon juice
Brightens the filling and cuts through the richness. -
2 large eggs
Provide structure and a custardy texture when gently mixed in.
For another simple handheld dessert that uses a muffin pan in a creative way, see this no-bake mini key lime pies recipe no-bake mini key lime pies.
Step-by-step Instructions
-
Preheat the oven to 350°F (177°C) and line a standard 12-count muffin pan with cupcake liners. Lining the pan makes removing the mini cheesecakes easy and keeps shapes neat.
-
To make the crust, combine the graham cracker crumbs, 2 tablespoons granulated sugar, and melted butter in a medium bowl until the mixture looks sandy and holds together when pressed. Firmly press a heaping tablespoon into the bottom of each liner to form an even layer. Bake the crusts for 6 minutes, then remove from the oven and let them cool slightly while you prepare the filling.
-
For the filling, beat the softened cream cheese and 1/2 cup granulated sugar until very smooth, scraping the bowl as needed. Mix in the sour cream, lemon juice, and vanilla extract until combined. Beat in the eggs one at a time, mixing gently and stopping as soon as each egg is incorporated to avoid overmixing.
-
Fill each liner with the cheesecake batter, dividing it evenly among the 12 cups. Leave a small gap at the top so the centers can puff a little without overflowing.
-
Optional: Place a roasting pan with boiling water on the bottom oven rack to create steam while baking. This can help reduce cracking and produce a slightly silkier texture.
-
Bake the mini cheesecakes for about 20 minutes, or until the edges are set but the centers still jiggle slightly when you gently shake the pan. The residual heat will finish setting the filling without drying it out.
-
Let the cheesecakes cool at room temperature for 45 minutes, then chill them in the refrigerator for at least 2 hours before serving. Chilling helps them firm up and develop full flavor.
If you like making small bites in a muffin pan, the technique is similar to how you might approach savory mini sandwiches like these mini grilled cheese Hawaiian rolls mini grilled cheese Hawaiian rolls.
Recipe Details
- Prep Time: 15 minutes active
- Cook Time: 26 minutes total (6 minutes for crust, about 20 minutes for filled cheesecakes)
- Total Time: 3 hours 26 minutes (includes 45 minutes cooling and 2 hours chilling)
- Servings: 12 mini cheesecakes
- Calories: Approximately 260 calories per mini cheesecake
For tips on chilling and serving small desserts, you may find other single-serve dessert ideas helpful, such as this no-bake key lime option no-bake mini key lime pies.
Tips, Storage & Variations
Tips
- Use room temperature cream cheese and eggs to help the filling come together smoothly and prevent lumps.
- Mix eggs in one at a time and stir gently to avoid adding too much air, which can cause cracks.
- If you prefer a firmer edge, bake a little longer but watch centers closely to avoid overbaking.
Storage
- Refrigerate leftover mini cheesecakes in an airtight container for up to 5 days.
- For longer storage, freeze the cooled cheesecakes on a baking sheet until firm, then transfer to a freezer-safe container for up to 1 month. Thaw in the refrigerator before serving.
Variations using only the ingredients listed
- Lemon-forward: Stir a little extra freshly squeezed lemon juice into the filling before baking for extra brightness, keeping proportions balanced to maintain texture.
- Extra crunchy crust: Reserve a teaspoon of graham crumbs and sprinkle on top after baking for added texture.
- Creamy swirl: After filling the cups, spoon a small dollop of the sour cream on top of each before baking and swirl lightly into the batter for a subtle tangy topping.
For more small dessert ideas and inspiration for serving single-serve sweets, check out this mini pecan pie cheesecake concept mini pecan pie cheesecakes.
Frequently Asked Questions
Q: Can I make the crust without melting the butter?
A: No, the melted butter is needed to bind the graham crumbs so they hold together when pressed and baked.
Q: Why did my mini cheesecakes crack?
A: Overmixing or baking at too high a temperature can cause cracks. Mix eggs gently and consider the optional water bath to reduce cracking.
Q: How do I tell when the cheesecakes are done?
A: The edges should be set and the centers should jiggle slightly when you gently shake the pan.
Q: Can I use low-fat cream cheese or sour cream?
A: The recipe calls for full-fat versions for best texture and flavor. Low-fat versions may alter the richness and firmness.
Q: How long should they chill before serving?
A: Chill at least 2 hours; overnight chilling yields the best texture and flavor.
People Also Ask
Q: Can I bake mini cheesecakes without liners?
A: Yes, you can grease the muffin pan cups directly, but liners make removal easier and reduce cleanup.
Q: Is a water bath necessary for mini cheesecakes?
A: It is optional. A water bath helps produce a smoother texture and fewer cracks but is not required.
Q: Can I make the crust thicker or thinner?
A: Yes, press more or less crumb mixture into each cup. Thicker crusts will add crunch and sweetness.
Q: How do I prevent soggy crusts?
A: Bake the crust for the 6 minutes called for before filling. This helps set and crisp the base.
Q: Can I prepare these a day ahead?
A: Absolutely. Bake and chill them fully, then store refrigerated until serving.
Q: What is the best way to remove mini cheesecakes from liners?
A: Peel the liner gently away from the sides. If they stick, let them chill longer to firm up.
Q: Can I double the recipe?
A: Yes, double all ingredients and bake in multiple pans or batches as needed.
Q: Are these suitable for parties and potlucks?
A: Yes, their single-serve size makes them ideal for sharing and easy transport.
Conclusion
These mini cheesecakes are simple to make, delightfully creamy, and perfect for sharing at gatherings or enjoying as an everyday treat. If you want more ideas for mini-sized desserts and presentation tips, this Mini Cheesecakes (in a Standard Muffin Pan) – Sally’s Baking guide and this Mini Cheesecakes – Live Well Bake Often post are excellent references for variations and troubleshooting. Give the recipe a try, share your results, and enjoy the cozy satisfaction of a homemade little indulgence.