Easter Rice Krispie Bars
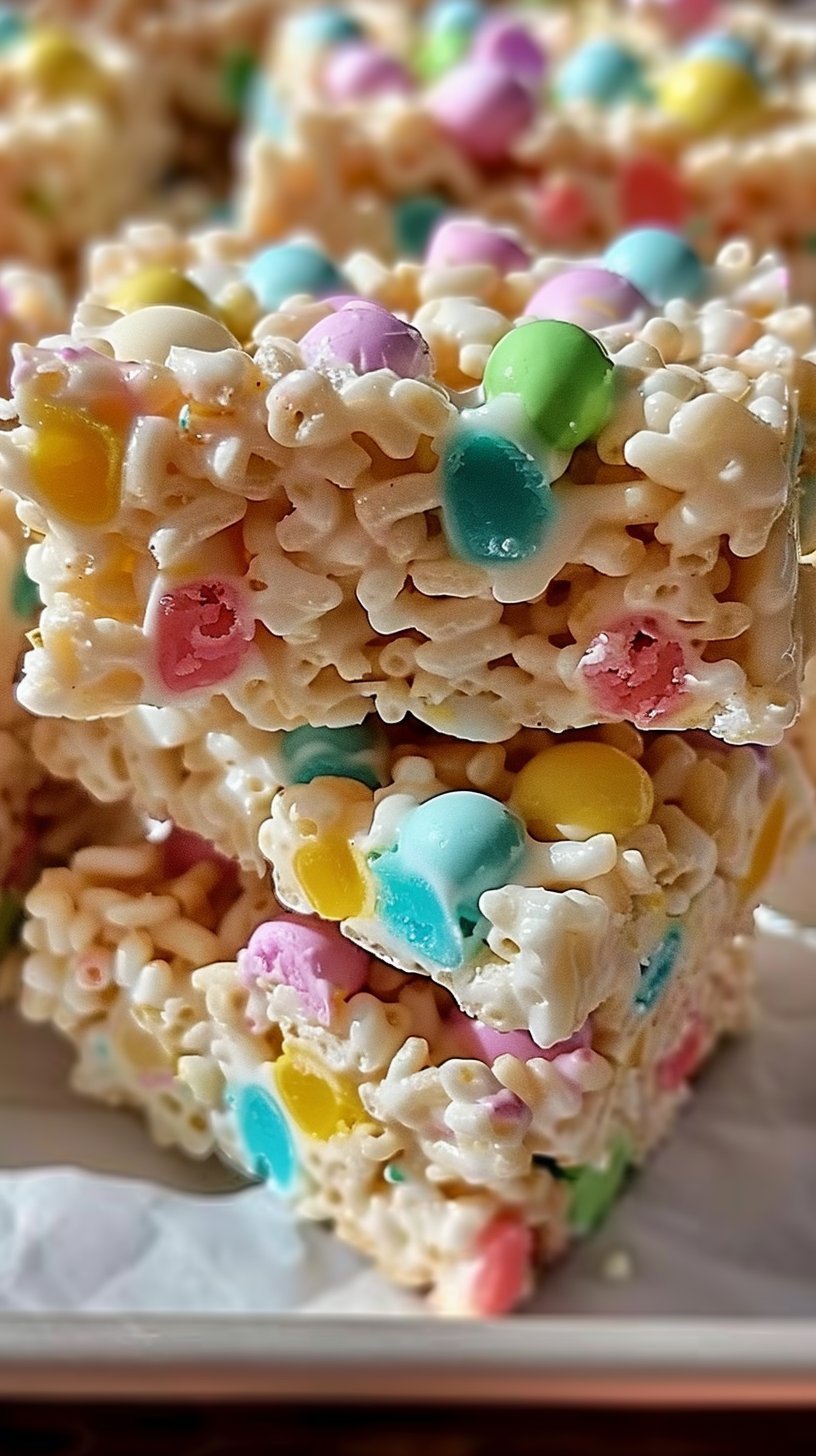
These Easter Rice Krispie Bars are a cheerful, simple treat that captures the nostalgia of a classic cereal bar with a springtime twist. Soft and chewy marshmallow binds crunchy Rice Krispies into pillowy squares, while pastel candy-coated eggs add bursts of chocolate and a playful crunch. The aroma while melting butter and marshmallows is warm and sweet, and the finished bars have a slightly glossy, tender exterior with a satisfying snap when bitten. They are perfect for Easter baskets, classroom parties, potlucks, or a quick festive dessert after dinner. Ready in under an hour and requiring just a few pantry items, this recipe is a go-to when you want a colorful, kid-friendly treat that looks special with almost no fuss.
Ingredients
- 6 cups Rice Krispies cereal
Provides the light, crispy structure and signature crunch for the bars. - 4 cups mini marshmallows
Melt down to create the sticky, sweet binder that holds the cereal together. - 3 tablespoons unsalted butter
Adds richness and helps the marshmallows melt smoothly while preventing sticking. - 1 teaspoon vanilla extract
Lifts and balances sweetness with a warm, rounded flavor note. - 1/2 cup pastel-colored candy-coated chocolate eggs or Easter-themed candies
Adds color, extra sweetness, and a chocolatey crunch. Half are folded in and the rest are pressed on top.
Step-by-step Instructions
- Grease a 9×13-inch baking dish with butter or non-stick spray. Make sure the surface is evenly coated so the bars release easily. Lining the dish with parchment is also helpful for easy removal.
- In a large pot, melt the butter over low heat. Keep the heat low to prevent browning.
- Add the mini marshmallows and stir until fully melted and smooth. Stir constantly for an even melt and to avoid sticking.
- Remove from heat and stir in the vanilla extract. Mixing off the heat preserves the vanilla flavor.
- Add the Rice Krispies cereal and fold gently until coated. Use a rubber spatula to fold so the cereal remains light and not crushed.
- Fold in half of the pastel-colored candy-coated eggs. Folding them in gently prevents excessive candy color transfer and helps distribute chocolate bits throughout.
- Transfer the mixture to the baking dish and press down evenly. Lightly buttered hands or a piece of parchment can help press without sticking. Press firmly but do not compress so hard that the bars become dense.
- Sprinkle remaining candies on top and press them in. Press just enough to embed them so they stay put when cut.
- Allow to cool for 30 minutes before cutting into squares. Cooling lets the bars set so they hold their shape when sliced.
Recipe Details
- Prep Time: 10 minutes
- Cook Time: 10 minutes (melting and combining)
- Total Time: 50 minutes (includes 30 minutes cooling)
- Servings: 12 squares
- Calories: Approximately 160 calories per serving
Tips, Storage & Variations
Tips
- Use low heat when melting marshmallows to avoid scorching.
- Lightly butter your spatula or hands to press the mixture smoothly into the pan.
- For neater edges, cool completely, then warm a sharp knife under hot water, dry it, and slice.
Storage
- Store in an airtight container at room temperature for up to 4 days to maintain chewiness.
- If candies get soft in humid conditions, keep the container in a cool, dry place.
Freezing
- Wrap individual squares in plastic wrap and store in a freezer-safe bag for up to 6 weeks. Thaw at room temperature for 30 to 60 minutes before serving.
Variations using existing ingredients
- Mix more of the pastel candies into the cereal for a more chocolatey bite in every square.
- Reserve all candies for the top only for a more colorful presentation.
- Chop the candy-coated eggs slightly and fold small pieces into the mix for pockets of chocolate.
Frequently Asked Questions
-
Can I use regular marshmallows instead of mini marshmallows?
Yes. Use the same total volume. Regular marshmallows will melt the same but may take a little longer to break down. -
How do I prevent the bars from becoming too hard?
Avoid over-pressing the mixture into the pan and do not overcook the marshmallow mixture. Press firmly but gently. -
Can I make these ahead of time for a party?
Yes. Make them the day before and store in an airtight container at room temperature to keep them fresh. -
Are these safe for school classrooms with nut allergies?
The basic recipe does not include nuts, but check the candy packaging for cross-contamination warnings if serving to schools. -
What is the best way to cut clean squares?
Cool completely, then use a knife warmed under hot water and dried between cuts for cleaner edges. -
Can I double the recipe to make a larger batch?
Yes, double all ingredients and use a larger pan or two 9×13-inch pans, keeping the same method.
People Also Ask
-
How long should Rice Krispie bars cool before cutting?
Allow about 30 minutes at room temperature so they set and cut cleanly. -
Why are my Rice Krispie bars sticky after cooling?
They may be sticky if stored in high humidity or if the marshmallow mixture was undercooked. Store in a cool, dry place. -
Can I press the mixture into the pan with a spoon instead of hands?
Yes, use a buttered spatula or the back of a spoon covered with parchment to avoid sticking. -
Will the candy coating melt into the bars?
Small amounts can soften a bit; folding some candies in and pressing others on top helps preserve color and texture. -
Is it better to mix candies in or put them on top?
Both work. Mixing gives chocolate throughout, while topping keeps a colorful presentation. -
Can I use a different cereal with this method?
The method works for other crisp cereals, but texture will vary with cereal shape and density. -
How can I keep the bars from falling apart?
Ensure the marshmallows are fully melted and evenly coat the cereal so the mixture holds together when pressed. -
Are these bars good for lunchbox treats?
Yes, when stored in an airtight container, they travel well for a ready sweet treat.
Conclusion
These Easter Rice Krispie Bars are an easy, joyful recipe that brings crunch, sweetness, and bright pastel color to any spring gathering. They are quick to make, forgiving to assemble, and perfect for sharing with family and friends. For more inspiration and similar festive ideas, see Easter Rice Krispie Treats (Quick and Easy!) and check out the playful presentation tips at Easter Rice Krispie Treat – Real Food by Dad. Give this recipe a try, plate a few squares, and enjoy a cozy, colorful moment with loved ones.