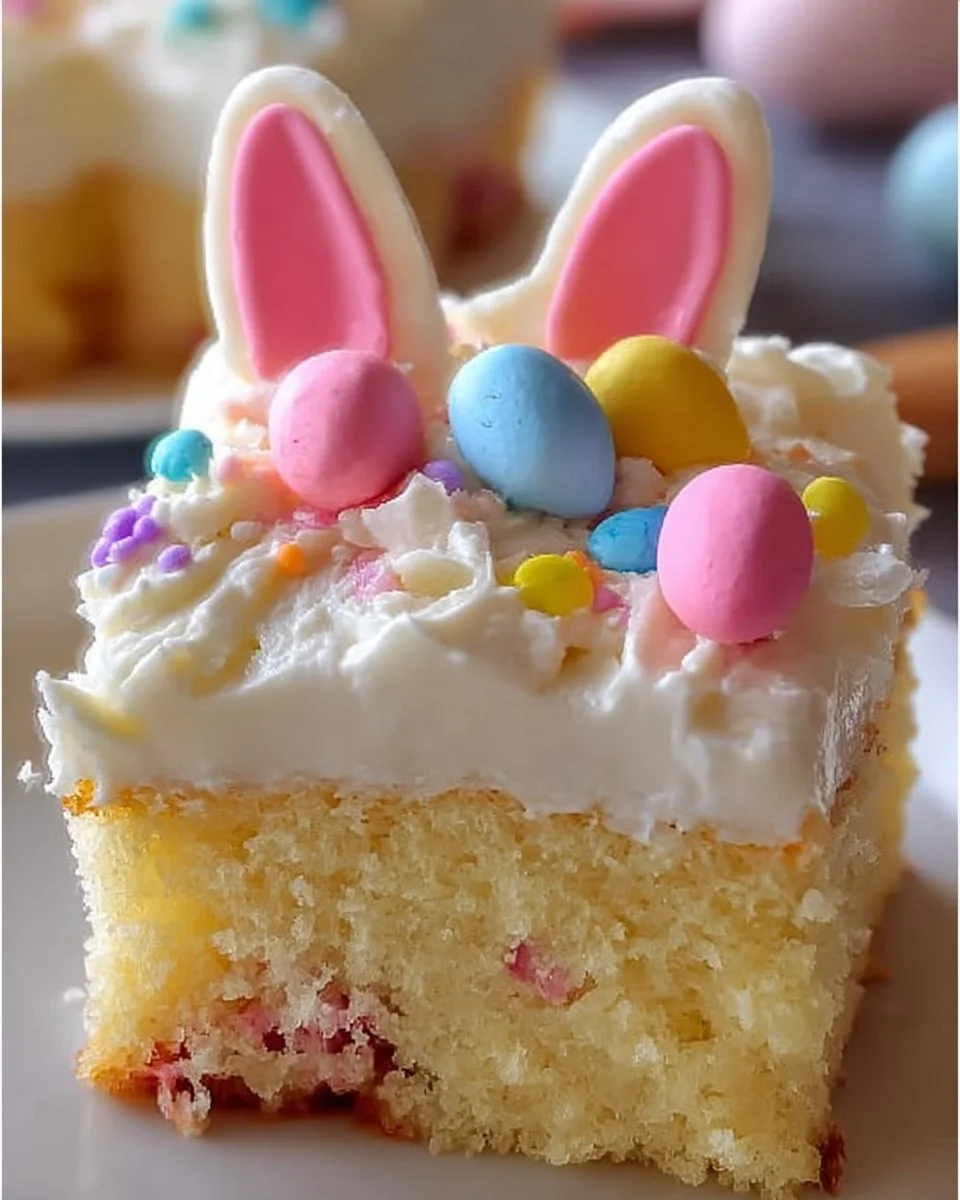
Easter Bunny Poke Cake
A light, playful dessert that captures the joy of Easter, this Easter Bunny Poke Cake is as fun to make as it is to eat. The cake bakes up tender and moist, with soft pockets of creamy vanilla pudding tucked into every slice. Topped with cool whipped topping and pastel candies, the cake has a sweet, fluffy texture and a mild vanilla aroma that reminds you of spring gatherings. Shredded coconut creates a soft, furry look for the bunny ears and adds a gentle chew, while jelly beans or candy-coated chocolates provide pops of color and tiny bursts of candy crunch. This recipe is ideal for holiday brunches, classroom parties, or family potlucks when you want a festive centerpiece that is simple to put together. Kids will love decorating and adults will appreciate the make-ahead convenience and balanced sweetness.
Ingredients
- 1 box (18.25 oz) white or yellow cake mix, the base for a light, classic cake.
- 3 large eggs, give structure and richness.
- 1 cup water, needed to hydrate the cake mix.
- 1/2 cup vegetable oil, keeps the cake moist and tender.
- 1 package (3.4 oz) instant vanilla pudding mix, adds creamy flavor and fills the poke holes.
- 2 cups cold milk, used to whisk the pudding to the right consistency.
- 1 container (8 oz) whipped topping (such as Cool Whip), thawed, for a fluffy, cool topping.
- Pastel-colored jelly beans or candy-coated chocolates (such as M&M’s), for festive decoration.
- 1 cup shredded coconut (dyed pink or left white), to make bunny ears and add texture.
- Optional: Candy eyes, for creating the bunny face.
- Optional: Licorice strips, useful for whiskers or to outline bunny features.
Step-by-step Instructions
- Preheat oven to 350°F (175°C) and grease a 9×13-inch baking dish. Greasing helps the cake release cleanly.
- In a large bowl, combine the cake mix, eggs, water, and oil, mixing until smooth. Scrape the bowl so no dry mix remains.
- Pour the batter into the prepared dish and bake according to package instructions, about 25 to 30 minutes, until a toothpick comes out clean. Ovens vary, so start checking at 25 minutes.
- Let the cake cool for 10 minutes, then poke holes about 1 inch apart using a wooden spoon handle. Press straight down to form evenly spaced holes.
- In a separate bowl, whisk together the pudding mix and cold milk until thickened, about 2 minutes. Whisk steadily to avoid lumps.
- Pour the pudding over the cake, ensuring it fills the holes. Use a spatula to help distribute pudding into any spots that need it.
- Refrigerate for 1 hour to set the pudding. This chilling step helps the pudding firm inside the cake.
- Spread the whipped topping over the cake and decorate with jelly beans and coconut for bunny ears. Arrange candies and optional eyes or licorice to create a bunny face.
- Chill for another 30 minutes before serving so the topping firms and flavors meld.
Recipe Details
- Prep Time: 15 minutes
- Cook Time: 25 to 30 minutes
- Total Time: About 2 hours 15 minutes (includes chilling)
- Servings: 12
- Calories: Approximately 360 per serving
Tips, Storage & Variations
Tips
- Use room temperature eggs for a more even batter.
- Poke the holes while the cake is still slightly warm so the pudding sinks in more easily.
- If the pudding seems thin, whisk a little longer until it thickens before pouring.
Storage
- Refrigerate leftovers in an airtight container for up to 3 days.
- Keep decorations on the cake when chilling to maintain the look, or add fresh candies just before serving.
Freezing
- For longer storage, freeze the uncut cake without the whipped topping for up to 1 month. Wrap tightly in plastic wrap and foil. Thaw overnight in the refrigerator, then add whipped topping and decorations before serving.
Variations using existing ingredients only
- Use white cake mix for a delicate vanilla base or yellow cake mix for a richer cake flavor.
- Mix some crushed candy-coated chocolates into the whipped topping for colorful specks.
- Dye the shredded coconut pink or leave it white to vary the bunny ear look.

Frequently Asked Questions
Q: Can I prepare this cake the day before?
A: Yes, make the cake and pudding step a day ahead, refrigerate overnight, then add whipped topping and decorations before serving.
Q: Can I use homemade pudding instead of instant?
A: The recipe calls for instant pudding to set quickly; homemade pudding may be thinner and change the set time.
Q: How many holes should I poke in the cake?
A: Space holes about 1 inch apart across the cake so most slices have pudding in them.
Q: Do I have to chill the cake after adding pudding?
A: Yes, chilling for 1 hour helps the pudding set inside the cake for the best texture.
Q: Can I skip the coconut for the ears?
A: Yes, the coconut is decorative; you can use more jelly beans or other provided candies instead.
People Also Ask
Q: What is a poke cake?
A: A poke cake is baked, then holes are poked so a liquid filling like pudding or gelatin can soak into the cake.
Q: How long does instant pudding take to thicken?
A: Instant pudding usually thickens in about 2 minutes with cold milk and stirring.
Q: Will the whipped topping hold up on a poke cake?
A: Yes, chilled whipped topping firms nicely and holds decorations when the cake is refrigerated.
Q: Can I use low-fat milk for the pudding?
A: Yes, low-fat milk works, but the pudding may be slightly less rich.
Q: Are jelly beans safe to use on cake where kids will serve themselves?
A: Yes, but consider any allergy or choking risks for very young children.
Q: How do I keep the coconut from clumping?
A: Dry the coconut slightly on a sheet if damp, and sprinkle it gently for an even look.
Conclusion
This Easter Bunny Poke Cake is a cheerful, easy dessert that brings bright colors and simple techniques together for a show-stopping holiday treat. It is perfect for family gatherings, school parties, or any spring celebration where you want a festive centerpiece that is quick to assemble. If you want inspiration for a similar seasonal poke cake presentation, see this example at Easter Poke Cake – Wishes and Dishes. For another take on Easter-themed poke cakes and decoration ideas, check out Easter Poke Cake – OMG Chocolate Desserts. Enjoy making and sharing this sweet, whimsical cake, and be sure to pass along the smiles.