
Classic Red Velvet Cake Recipe
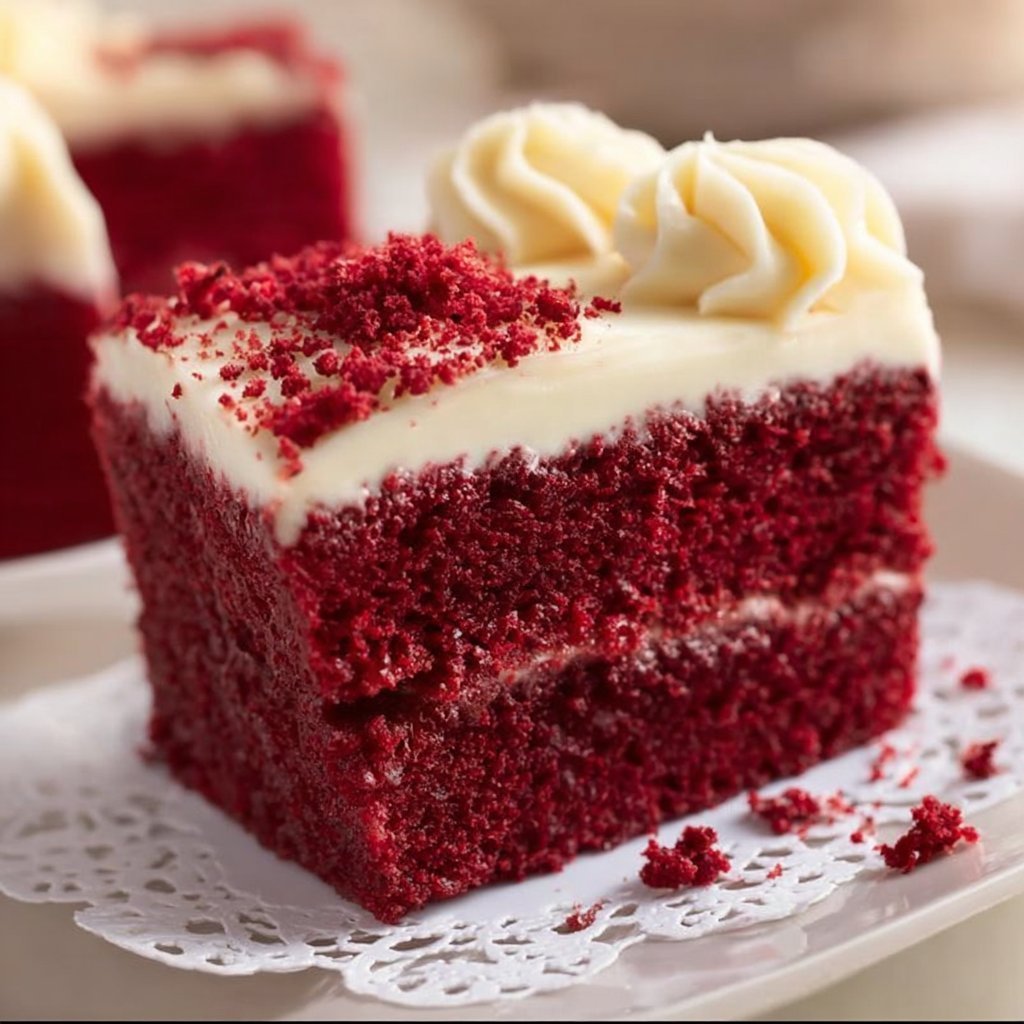
Indulge in the luxurious charm of a Classic Red Velvet Cake, the perfect dessert that embodies the spirit of celebration. With its striking deep red hue and velvety texture, this cake not only tantalizes the taste buds but also creates a delightful spectacle for any occasion. The rich, buttery flavor, paired with a subtle cocoa undertone and the creamy tang of cream cheese frosting, makes each slice a true slice of heaven. Whether it’s a birthday, an anniversary, or a festive gathering, this cake brings warmth to the table and spreads joy among friends and family. The luscious aroma wafting from your oven as it bakes will fill your home with inviting scents, making everyone eager for a sweet treat. Get ready to embark on a baking adventure that promises stunning results!
Ingredients
- 2 1/2 cups cake flour: Use finely milled cake flour for a light, airy structure that gives the cake its signature tenderness.
- 1 tbsp cocoa powder: Just a hint of cocoa adds depth of flavor without overpowering the cake’s signature taste.
- 1/2 cup unsalted butter, softened: Fresh butter provides richness and enhances the cake’s moist texture.
- 1 cup vegetable oil: Oil keeps the cake moist and helps achieve that desired velvety crumb.
- 1 cup buttermilk, room temperature: The acidity in buttermilk helps tenderize the cake, creating a perfect balance of sweetness and tang.
- 1 1/2 cups sugar: Granulated sugar sweetens the cake while contributing to its soft texture.
- 2 large eggs: Eggs provide structure and stability to the cake while adding moisture and richness.
- 2 tbsp red food coloring: This classic ingredient gives the cake its vibrant red color, making it visually stunning.
- 1 tsp vanilla extract: Vanilla extract enhances the overall flavor, bringing all the ingredients together beautifully.
- 8 oz cream cheese, softened: Cream cheese adds a delightful tanginess to the frosting, creating a smooth and creamy texture.
- 4 cups powdered sugar: Powdered sugar is essential for the frosting, providing sweetness and a velvety finish.
Step-by-Step Instructions
- Preheat your oven to 350°F (175°C). Grease and flour two 9-inch round cake pans to prevent sticking.
- In a large bowl, sift together the cake flour and cocoa powder. This process ensures a light, airy cake.
- In another bowl, cream together the softened unsalted butter, vegetable oil, and sugar until the mixture is light and fluffy for about 3–5 minutes.
- Add the eggs one at a time, beating well after each addition to ensure they are fully incorporated.
- Mix in the buttermilk, red food coloring, and vanilla extract until all the liquids are well combined.
- Gradually add the dry ingredients to the wet ingredients, mixing until just combined to avoid overmixing.
- Divide the batter evenly between the two prepared cake pans, smoothing the tops with a spatula if needed.
- Bake for 25-30 minutes, or until a toothpick inserted into the center comes out clean.
- Allow the cakes to cool in the pans for 10 minutes before transferring them to a wire rack to cool completely.
- For the frosting, beat the softened cream cheese and powdered sugar together until smooth. Frost the cooled cake layers as desired.
Recipe Details
- Prep Time: 20 minutes
- Cook Time: 30 minutes
- Total Time: 50 minutes
- Servings: 12
- Calories: Approximately 400 per slice
Tips, Storage & Variations
- Baking Tip: Ensure all ingredients are at room temperature for the best mixing results.
- Storage: Leftover cake can be covered and stored in the refrigerator for up to 4 days. Make sure to keep the frosting airtight to maintain its freshness.
- Freezing: Wrap the cooled cake layers in plastic wrap and freeze for up to 3 months. Thaw in the refrigerator before frosting.
- Variations: You can add a teaspoon of almond extract for a unique flavor twist, or fold in mini chocolate chips for an unexpected treat.
FAQ SECTION
1. Can I use all-purpose flour instead of cake flour?
Yes, you can use all-purpose flour, but the cake may not be as tender.
2. Is it necessary to use buttermilk?
Buttermilk is recommended for moisture and flavor, but you can substitute with plain yogurt or sour cream.
3. Can I make this cake ahead of time?
Absolutely! You can bake the cake layers a day in advance and store them in the refrigerator.
4. How should I store leftover cake?
Store leftover cake covered in the refrigerator for up to 4 days to maintain its freshness.
5. Can I use a different frosting?
Yes, you can experiment with different frostings like vanilla buttercream or chocolate ganache.
6. How can I make this cake gluten-free?
Substitute the cake flour with a gluten-free all-purpose flour blend.
PEOPLE ALSO ASK
1. What is the origin of red velvet cake?
Red velvet cake has Southern roots and gained popularity in the United States in the 1920s.
2. How do I know when my cake is done?
The cake is done when a toothpick inserted in the center comes out clean with few crumbs attached.
3. Why is my red velvet cake dry?
Overmixing or baking too long can cause dryness, so ensure careful mixing and timing.
4. Can I make cupcakes with this recipe?
Yes, this recipe can be made into cupcakes. Bake for 18-20 minutes.
5. What’s the best way to frost the cake?
Use an offset spatula for smooth and even frosting of the layers.
6. Can I substitute the cream cheese frosting?
Yes, you can use whipped cream or a classic buttercream instead.
Conclusion
You are now equipped to create a stunning Classic Red Velvet Cake that will impress everyone at your next celebration. The blend of flavors and heartwarming appearance makes it a beloved dessert for many. Remember to savor each slice and share your delightful creation with friends and family. Happy baking!