Matilda’s Chocolate Cake
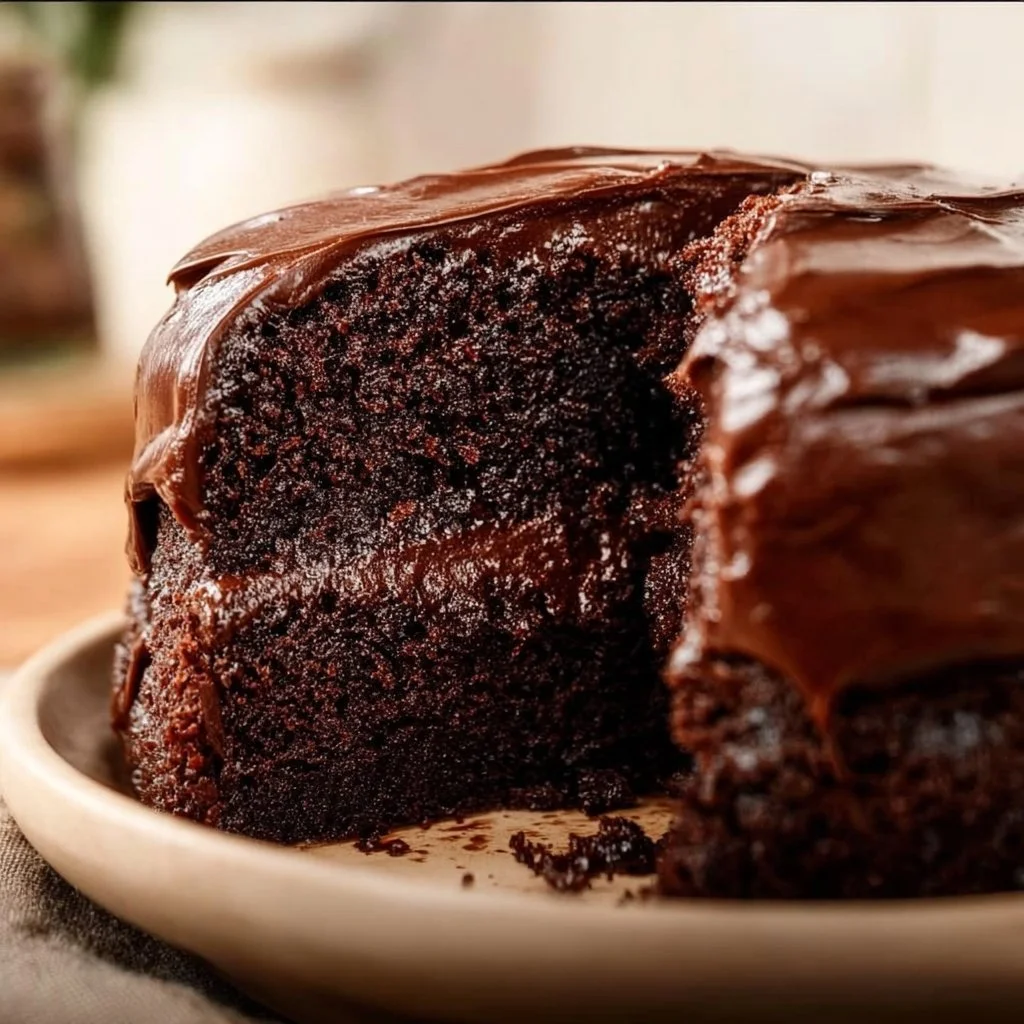
Indulging in a slice of Matilda’s Chocolate Cake is truly a delightful experience. This rich and moist chocolate cake is perfect for any occasion, be it a birthday party, a cozy gathering, or even just a well-deserved treat for yourself. Each bite features a deep, intense chocolate flavor complemented by a creamy, fudgy frosting that melts in your mouth. The cake’s tender crumb and delightful aroma fill the kitchen, inviting everyone to come and share in this sweet moment. Ideal for chocolate lovers and those looking to impress friends and family, this cake is sure to be a new favorite. Get your aprons ready; it’s time to bake!
Ingredients
- 1 3/4 cups all-purpose flour: The foundation of your cake, providing structure and stability.
- 1 1/2 cups granulated sugar: Adds sweetness and moisture, enhancing the cake’s flavor.
- 3/4 cup unsweetened cocoa powder: Offers rich chocolate flavor, making the cake decadently chocolatey.
- 1 1/2 teaspoons baking powder: Helps the cake rise, giving it a light and fluffy texture.
- 1 1/2 teaspoons baking soda: Works alongside baking powder to ensure the cake rises properly.
- 1 teaspoon salt: Balances the sweetness and enhances the overall flavor.
- 2 large eggs: Binds the ingredients and adds moisture and richness.
- 1 cup whole milk: Keeps the cake moist and adds richness.
- 1/2 cup vegetable oil: Provides moisture and a tender crumb without adding a strong flavor.
- 2 teaspoons vanilla extract: Enhances the sweet flavors and adds depth to the cake.
- 1 cup boiling water: Creates a thin batter, resulting in a moist cake.
- 1 cup unsweetened cocoa powder (for frosting): Adds a rich cocoa flavor to the frosting.
- 1/2 cup butter (softened): Forms the creamy base of the frosting, providing richness.
- 2 cups powdered sugar: Sweetens the frosting and gives it a smooth texture.
- 1/3 cup milk (for frosting): Adjusts the consistency of the frosting, making it creamy.
- 1 teaspoon vanilla extract (for frosting): Adds flavor, enhancing the overall sweetness.
Step-by-Step Instructions
- Preheat your oven to 350°F (175°C) and grease and flour two 9-inch round cake pans.
- In a large bowl, whisk together the flour, granulated sugar, cocoa powder, baking powder, baking soda, and salt until well mixed.
- Add the eggs, whole milk, vegetable oil, and vanilla extract to the dry ingredients. Mix until everything is just combined and smooth.
- Carefully stir in the boiling water, mixing until you have a smooth batter. The batter will be thin, but that’s perfectly fine.
- Divide the batter evenly between the prepared cake pans.
- Bake in the preheated oven for 30-35 minutes, or until a toothpick inserted into the center comes out clean.
- Let the cakes cool in the pans for 10 minutes, then remove from the pans and transfer to a wire rack to cool completely.
- For the frosting, beat the softened butter with the unsweetened cocoa powder in a bowl until well combined.
- Gradually add powdered sugar, milk, and vanilla extract while mixing until the frosting is smooth and creamy.
- Once the cakes are completely cool, place one layer on a serving plate, spread some frosting on top, and add the second layer on top of it.
- Frost the top and sides of the cake with the remaining frosting, swirling it beautifully. Serve and enjoy!
Recipe Details
- Prep Time: 20 minutes
- Cook Time: 30-35 minutes
- Total Time: 1 hour
- Servings: 10-12 slices
- Calories: Approximately 350 calories per slice
Tips, Storage & Variations
- Tips: Make sure to measure your flour correctly by spooning it into the measuring cup and leveling it off for the best results.
- Storage: Keep leftover cake in an airtight container at room temperature for up to 3 days, or refrigerate for up to a week.
- Freezing: You can freeze the cake layers wrapped tightly in plastic wrap and aluminum foil for up to 3 months. Thaw before frosting and serving.
- Variations: For a mocha twist, consider adding 1 tablespoon of instant coffee granules to the boiling water. You can also add chocolate chips to the batter for added texture.

FAQ
1. Can I use cake flour instead of all-purpose flour?
Yes, you can substitute cake flour for all-purpose flour, which will make the cake lighter.
2. How do I know when the cake is done baking?
Insert a toothpick into the center; if it comes out clean or with a few moist crumbs, the cake is ready.
3. Can I make this cake ahead of time?
Absolutely! You can prepare the cake layers a day in advance and frost them just before serving.
4. What can I use instead of vegetable oil?
You may substitute vegetable oil with melted coconut oil or unsweetened applesauce for a healthier option.
5. How can I make the frosting thicker?
If the frosting is too thin, add additional powdered sugar a little at a time until you reach the desired consistency.
6. What if I want a chocolate ganache instead of frosting?
You can easily replace the frosting with a chocolate ganache made from melted chocolate and cream.
People Also Ask (PAA) Expansion
1. How do I make a gluten-free version of Matilda’s Chocolate Cake?
Use a gluten-free all-purpose flour blend in place of regular flour.
2. Can I make mini cakes from this recipe?
Yes, you can divide the batter into smaller cake pans for mini cakes; adjust the baking time accordingly.
3. What type of cocoa powder should I use?
Unsweetened cocoa powder is recommended for this recipe, but Dutch-processed cocoa can also be used for a milder flavor.
4. Can I add fruits to my chocolate cake?
You can fold in fresh berries or banana puree into the batter for a fruity twist.
5. Is there a way to make this cake dairy-free?
Use plant-based milk and a dairy-free butter alternative for the frosting.
6. What is the best way to serve Matilda’s Chocolate Cake?
Serve it plain, with fresh berries, or a scoop of ice cream on the side for an extra indulgent treat.
Conclusion
Matilda’s Chocolate Cake is a timeless dessert that brings joy and satisfaction with every bite. Its rich flavors and delightful texture make it a showstopper at any gathering. We encourage you to try this recipe and share your delicious results with family and friends. Enjoy the process of baking and, most importantly, savor each sweet moment!